
The first step is to find a coordinating color for sashing and another for cornerstones. Here are mine.
1. Cut your sashing at 1 x 3 1/2. The cornerstones will be 1 x 1
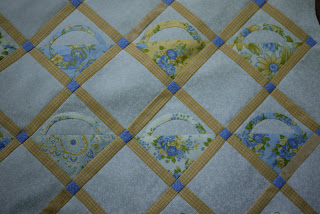
 2. You will need to cut a square to alternate with the baskets. Cut this squares the same size as the baskets, 3 1/2 x 3 1/2
 2. You will need to cut a square to alternate with the baskets. Cut this squares the same size as the baskets, 3 1/2 x 3 1/2
(edit: After making this I discovered there is a correct way to do these set in triangles.
Start with a 5 1/4 inch square and cut both diagonals, making a quarter square triangle. This way is better so that there are no bias edges at the end of the quilt.)
There will also be setting triangles. these will be 5' squares cut diagonally. They will be big, but I would rather them too big than too small. If you know of a better way, feel free to use it.
 3. Lay all your squares out and find a pleasing order.
 4. Add the sashing and begin sewing the rows together. Press after every addition. Pressing toward the darkest color.
 3. Lay all your squares out and find a pleasing order.
 4. Add the sashing and begin sewing the rows together. Press after every addition. Pressing toward the darkest color.
Trim, leaving a generous 1/4 inch.

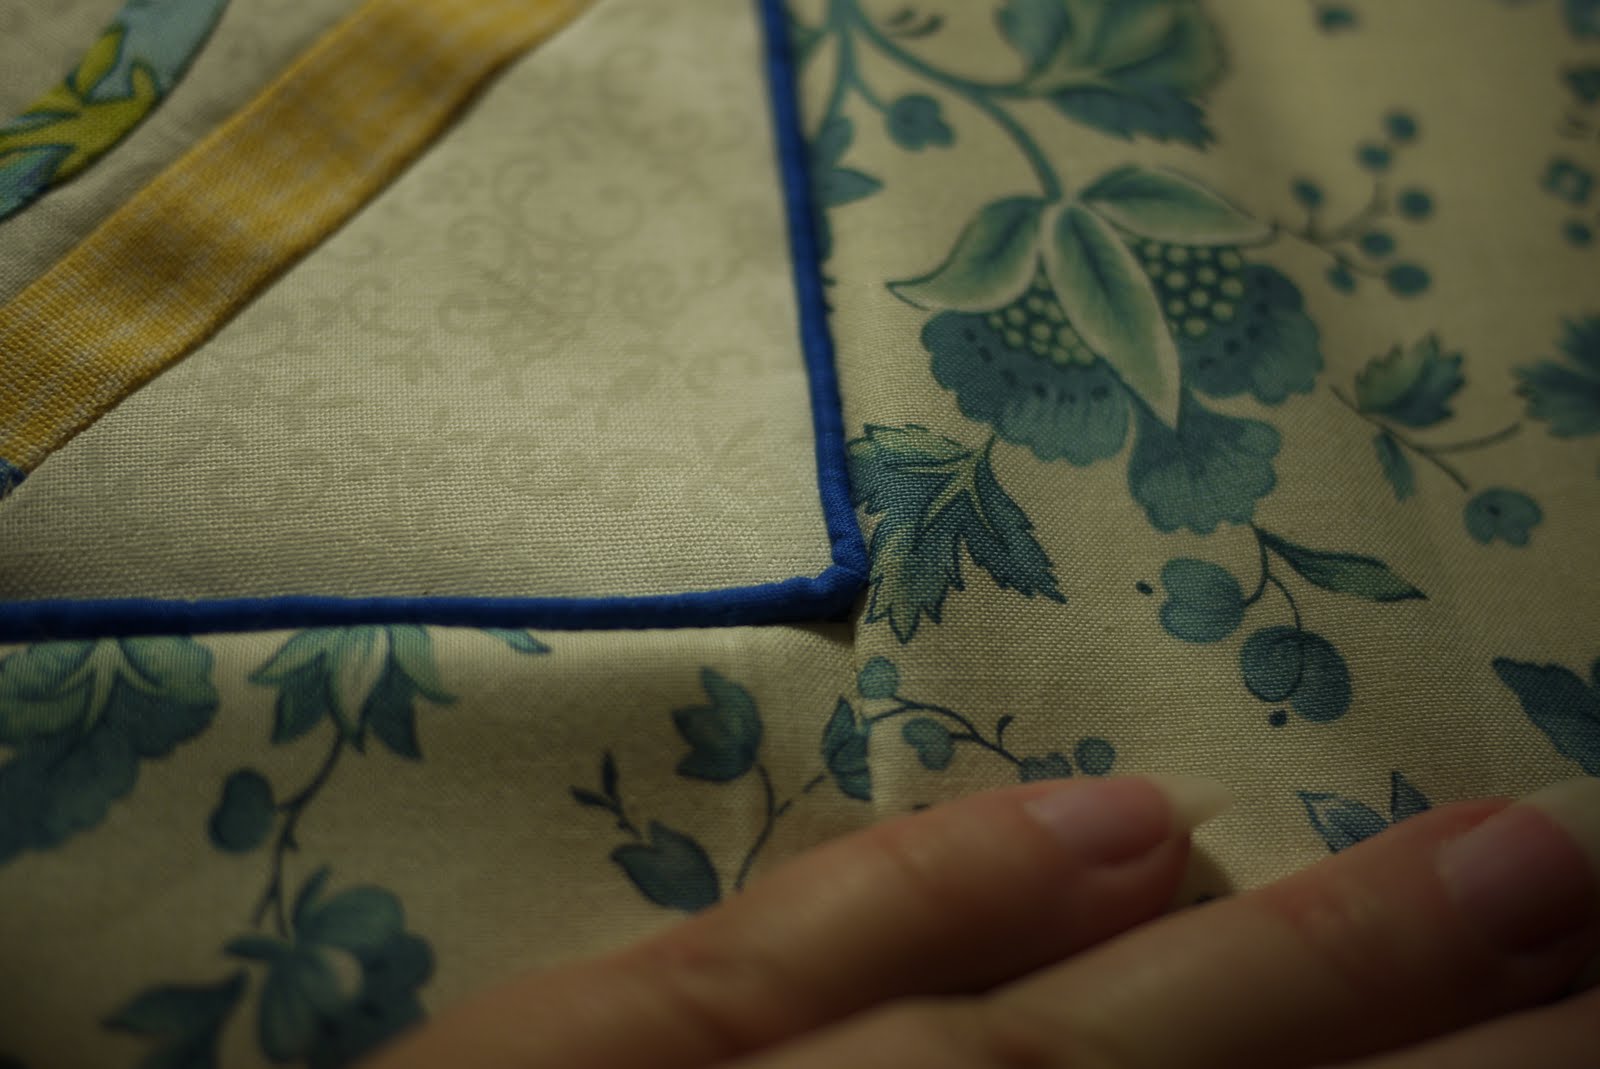
 5. Now lets add some fancy piping. Don't be scared. I used a very small piping (sorry I threw away the package so I have no idea how big) as big as a piece of cheap yard.

 5. Now lets add some fancy piping. Don't be scared. I used a very small piping (sorry I threw away the package so I have no idea how big) as big as a piece of cheap yard.
Cover the piping with fabric, making sure you have at least 3/4 of an inch to sew on either side of the piping. Use your zipper foot and make a tube long enough to fit your quilt.
I used those cornerstones as a guide. I laid the piping down between them and sewed as close to the piping as possible. You may want to use the same color thread here or later you may have to touch up your stitching with a maker.
Clip around your corners to ease the piping. You want a squarish corner.
 6. When you add the border you should get a nice crisp corner. I cut my borders at 5".

 7. Layer batting and a backing and start quilting. I just did a simple stitch in the ditch and quilted around each basket handle.
 8. I scalloped the border and added feathers to it.
 6. When you add the border you should get a nice crisp corner. I cut my borders at 5".
 7. Layer batting and a backing and start quilting. I just did a simple stitch in the ditch and quilted around each basket handle.
 8. I scalloped the border and added feathers to it.
 If you do this, remember to cut your binding on a bias to wrap around those scallops.
I hope you had fun and remember to please ask me any questions. And please forgive any mistakes I may have made.
Take care, Brandie
12 comments:
Adorable!
Beautiful! I love the French Country look!!!! It's just beautiful, Brandie! I love the addition of the piping. You are so talented. AND fast! :-)
Wonderful Brandie!
Oh my gosh...love, love love....
What a wonderful and precise tutorial Brandie!! It is a lovely quilt.
Wow!! FANTASTIC TUTORIAL!!! And the piping and the scallops...incredible!! You are amazing...you have finished and I'm still stitching handles!! haha THANK YOU SO MUCH FOR SHARING THIS PATTERN WITH US!!
Paulette
That is really cute!!!
This is just beautiful Brandie! Thanks so much for posting the tutorial and sharing your pattern with everyone. I absolutely love the piping!
I'm not sure where I've been for the last week to miss all the action here. You've been one busy person! Your tutorial is great and I really like the scalloped edge much better than the straight.
Thanks for sharing!
Looks great, Brandie. Love the piping. Would never have thought of doing that. And the sashing sets it off perfectly. Thanks for sharing. I'm looking forward to starting one. Where do you find the time ? Don't you ever go to bed !!!!!
Love it and I really like the scalloped border. Perfect!
Great little quilt. Love the scallop border. Great choice of fabrics.
Post a Comment